Custom Bookcase

I am not a good woodworker, but it pays to learn. We wanted a bookcase that fit our needs well and couldn't find one, so we decided to make our own.
July 25, 2026
The general premise was that we had a rolling TV stand and wanted to make a bookcase that fit within our space constrained apartment while still allowing for the TV to move around. It also needed to fit a lot of books and my hobby equipment. The hobby equipment put a minimum dimension on the shelves: at least 16 inches deep and 12 inches tall. However, such deep bookshelves were not very efficient for books since, unless double stacked (which, why would you given the possibility not to), there would be a lot of lost space in front of the books.
The design
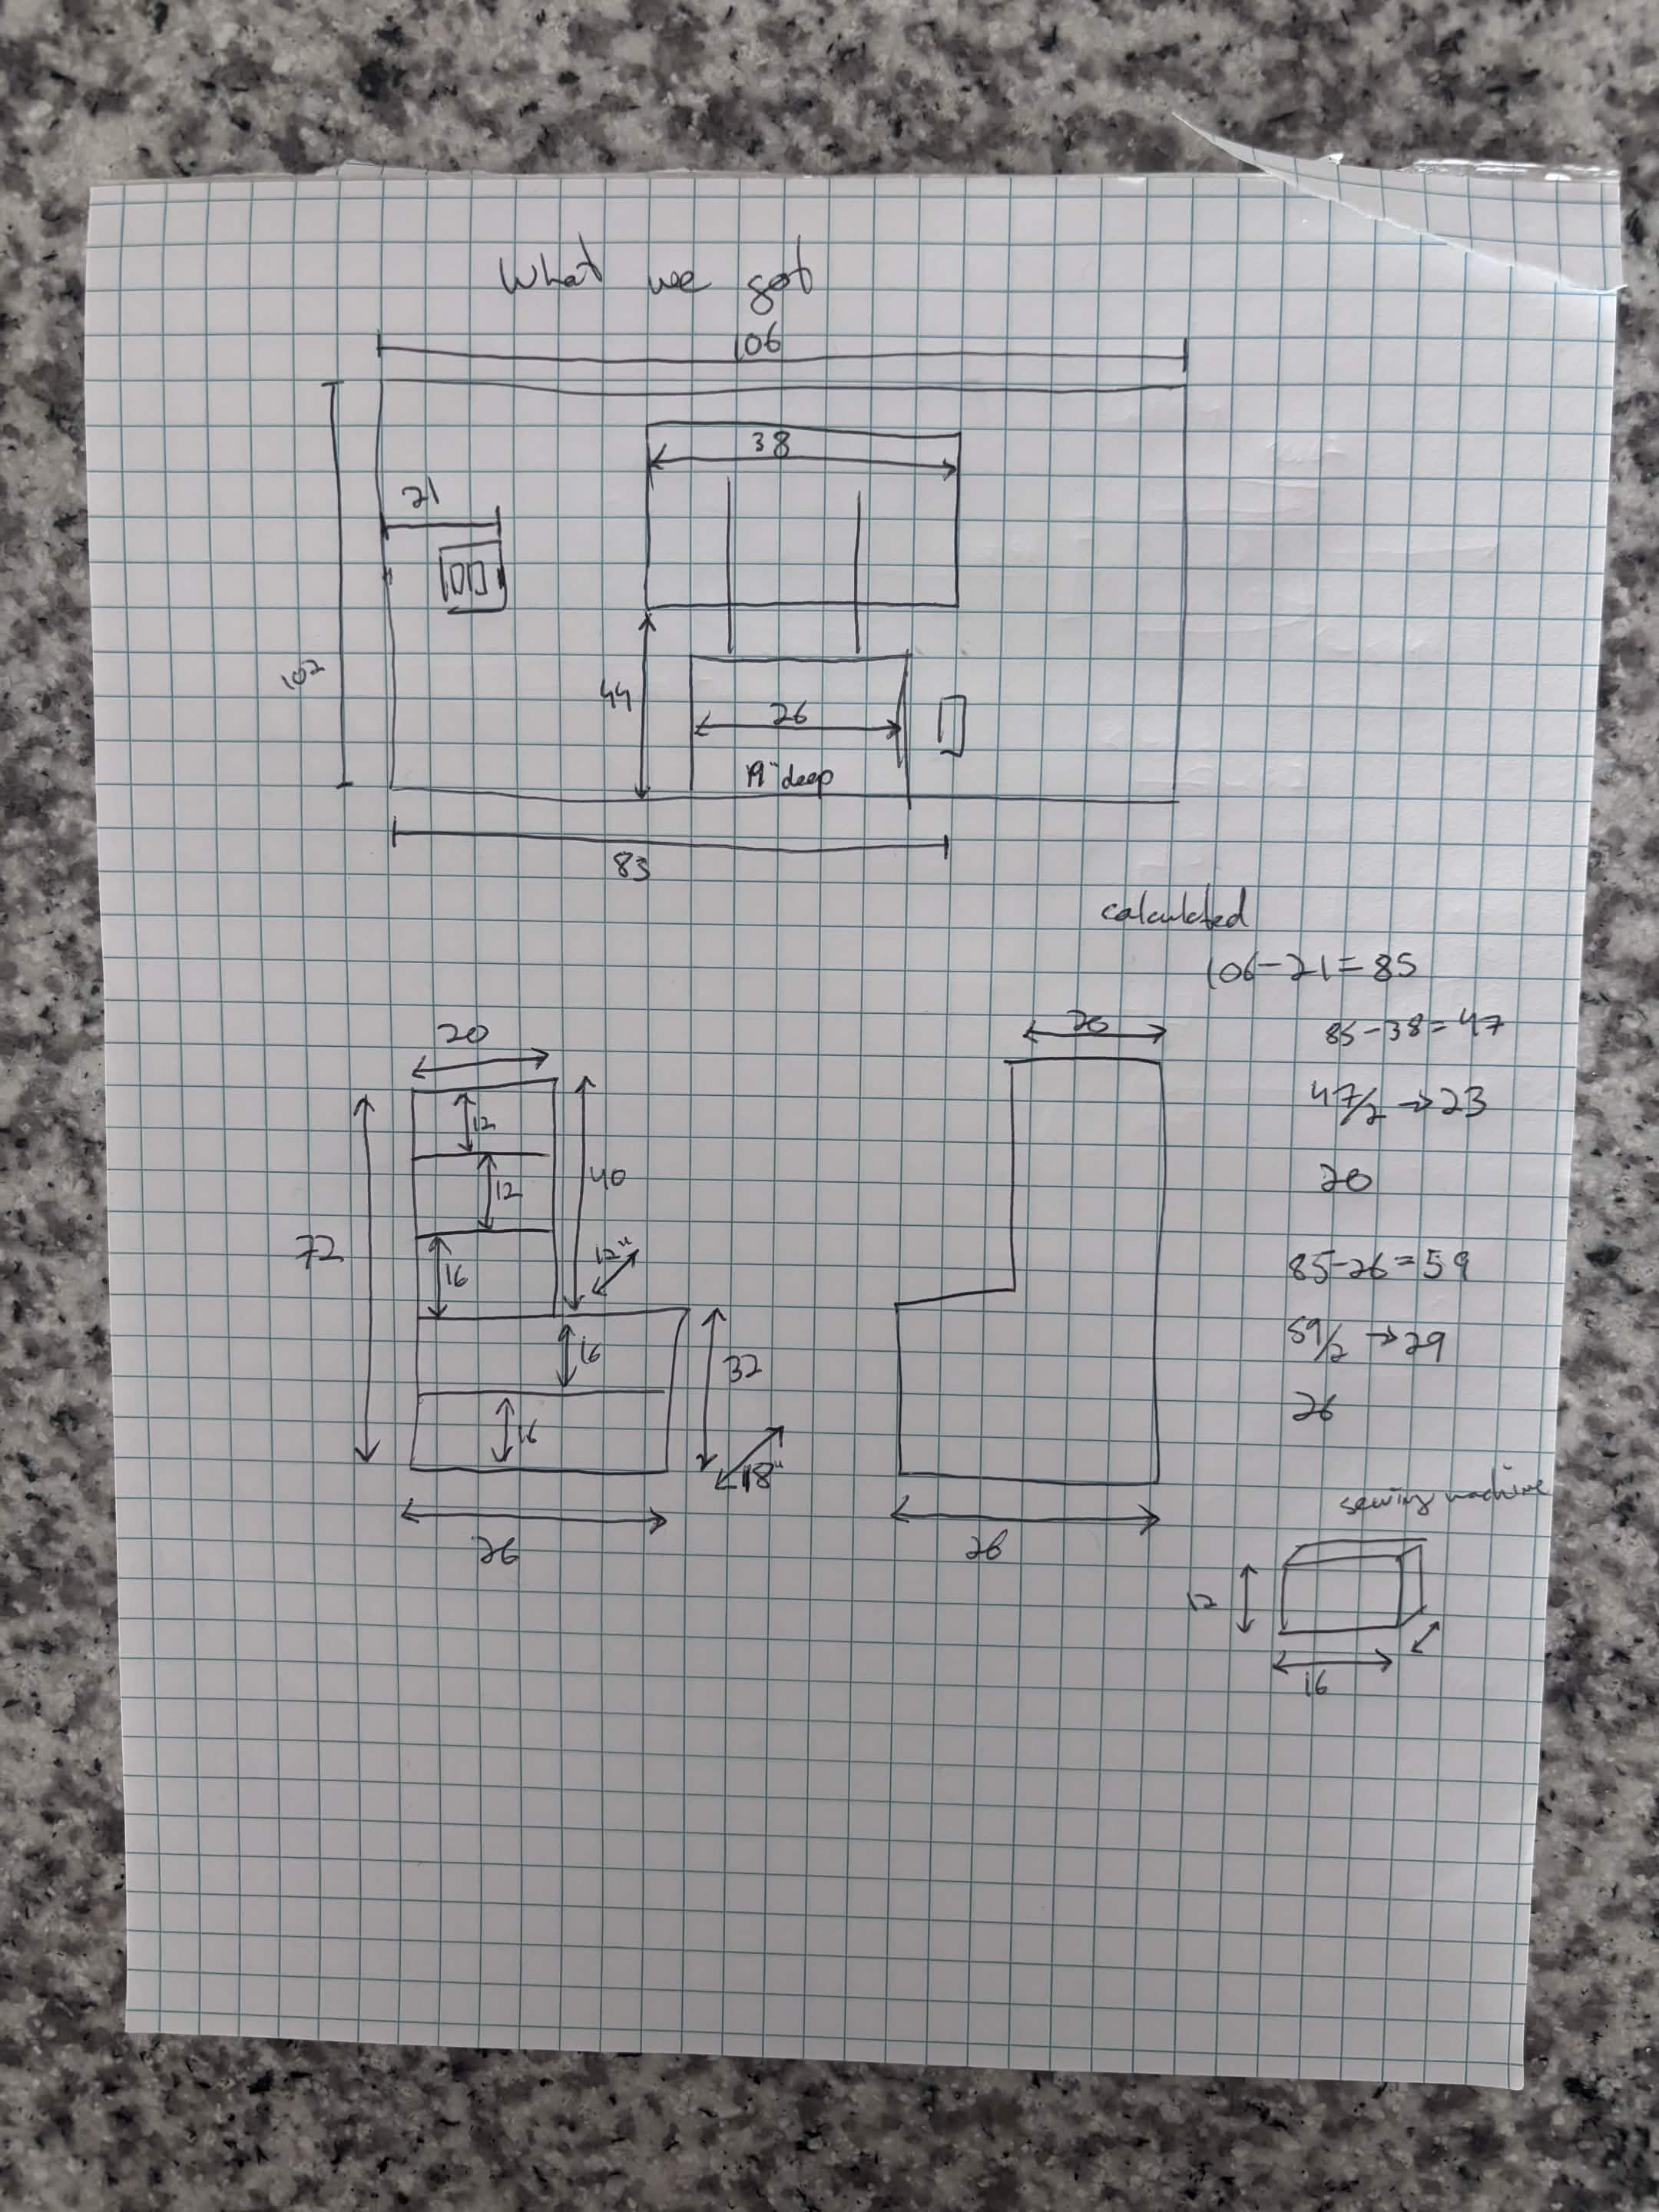
We looked at possible bookcases at Ikea, but none fit the description well. We did however, use the trip for inspiration. Upon our empty handed return, we started planning the ideal bookshelf. We were constrained on the sides by the end of the wall on one side and the switch on the other. We also needed to account for the TV stand. Since the TV stand was wider at the TV than on the wheels, We decided on a two-tiered design, where the bottom would hold the hobby stuff by being deeper and taller, while the top is smaller and would hold the books. This would also allow us to make two of them to hug either side of the TV stand
The sourcing
We first did a stakeout of the hardware store to see what kind of wood we could use. Since we went right before closing, we mostly simply got to browse the different woods, and their sizes. Due to price and strength, we decided to go for some plywood over solid wood. The cuts they had went up to 4x8 feet. So we did some quick, back of the napkin math to figure out how many pieces we would need. Using simple area calculation, it showed that each 4x8 would be able to make 1 bookcase.
We also looked around at the staining and varnishing (neither of us had done any woodworking so it was a mix of googling and asking around). Since the cleanest, nicest looking while not breaking the bank wood we found was 1/2 inch red oak plywood, staining was allegedly easy. We opted to using brackets as our main fasteners since they are easy to design and strong.
We then spent the evening trying to fit a bookshelf into 1 of those plywood pieces. This took some puzzling around, but by shrinking one of our dimensions slightly (by reducing the height from 40 inches to 38), we were able to do it.
[insert notebook picture here]
With the spare pieces of wood, we were also able to get footers for the front and the back. We also designed some additional support for the middle shelf since that one would need to hold the top shelf in the middle of the shelf and we didn't want it sagging.
The making
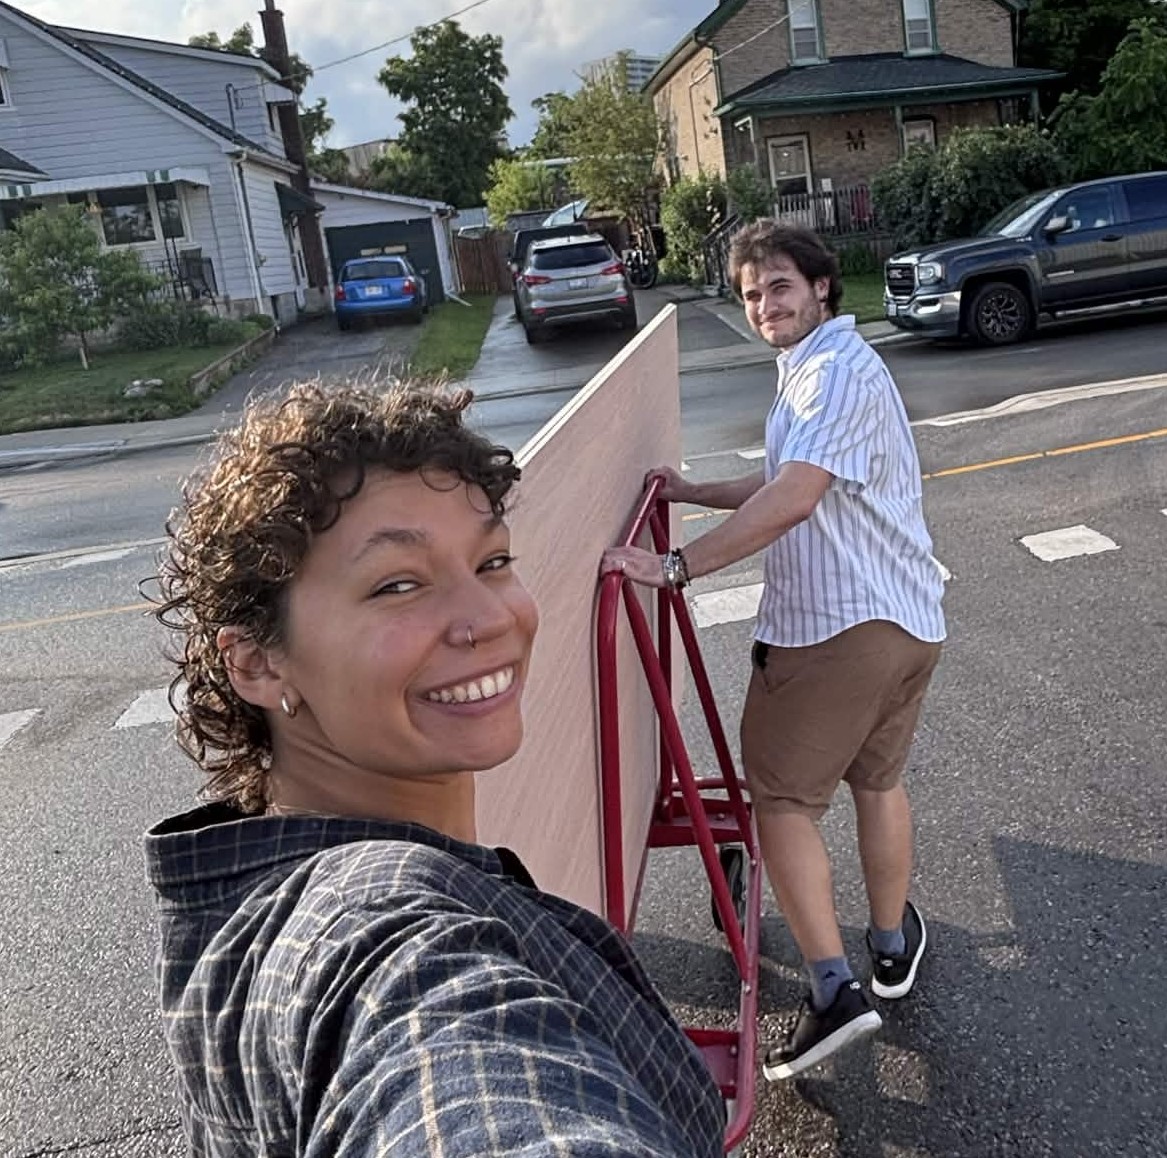
We got the wood and brought it to my workplace's woodshop. We borrowed a wood cart from the workplace since it was conveniently a block away from the hardware store. The first evening was spent just cutting the wood down to size. It required 3 people to do it since the table saw was not very big and the pieces of wood were.
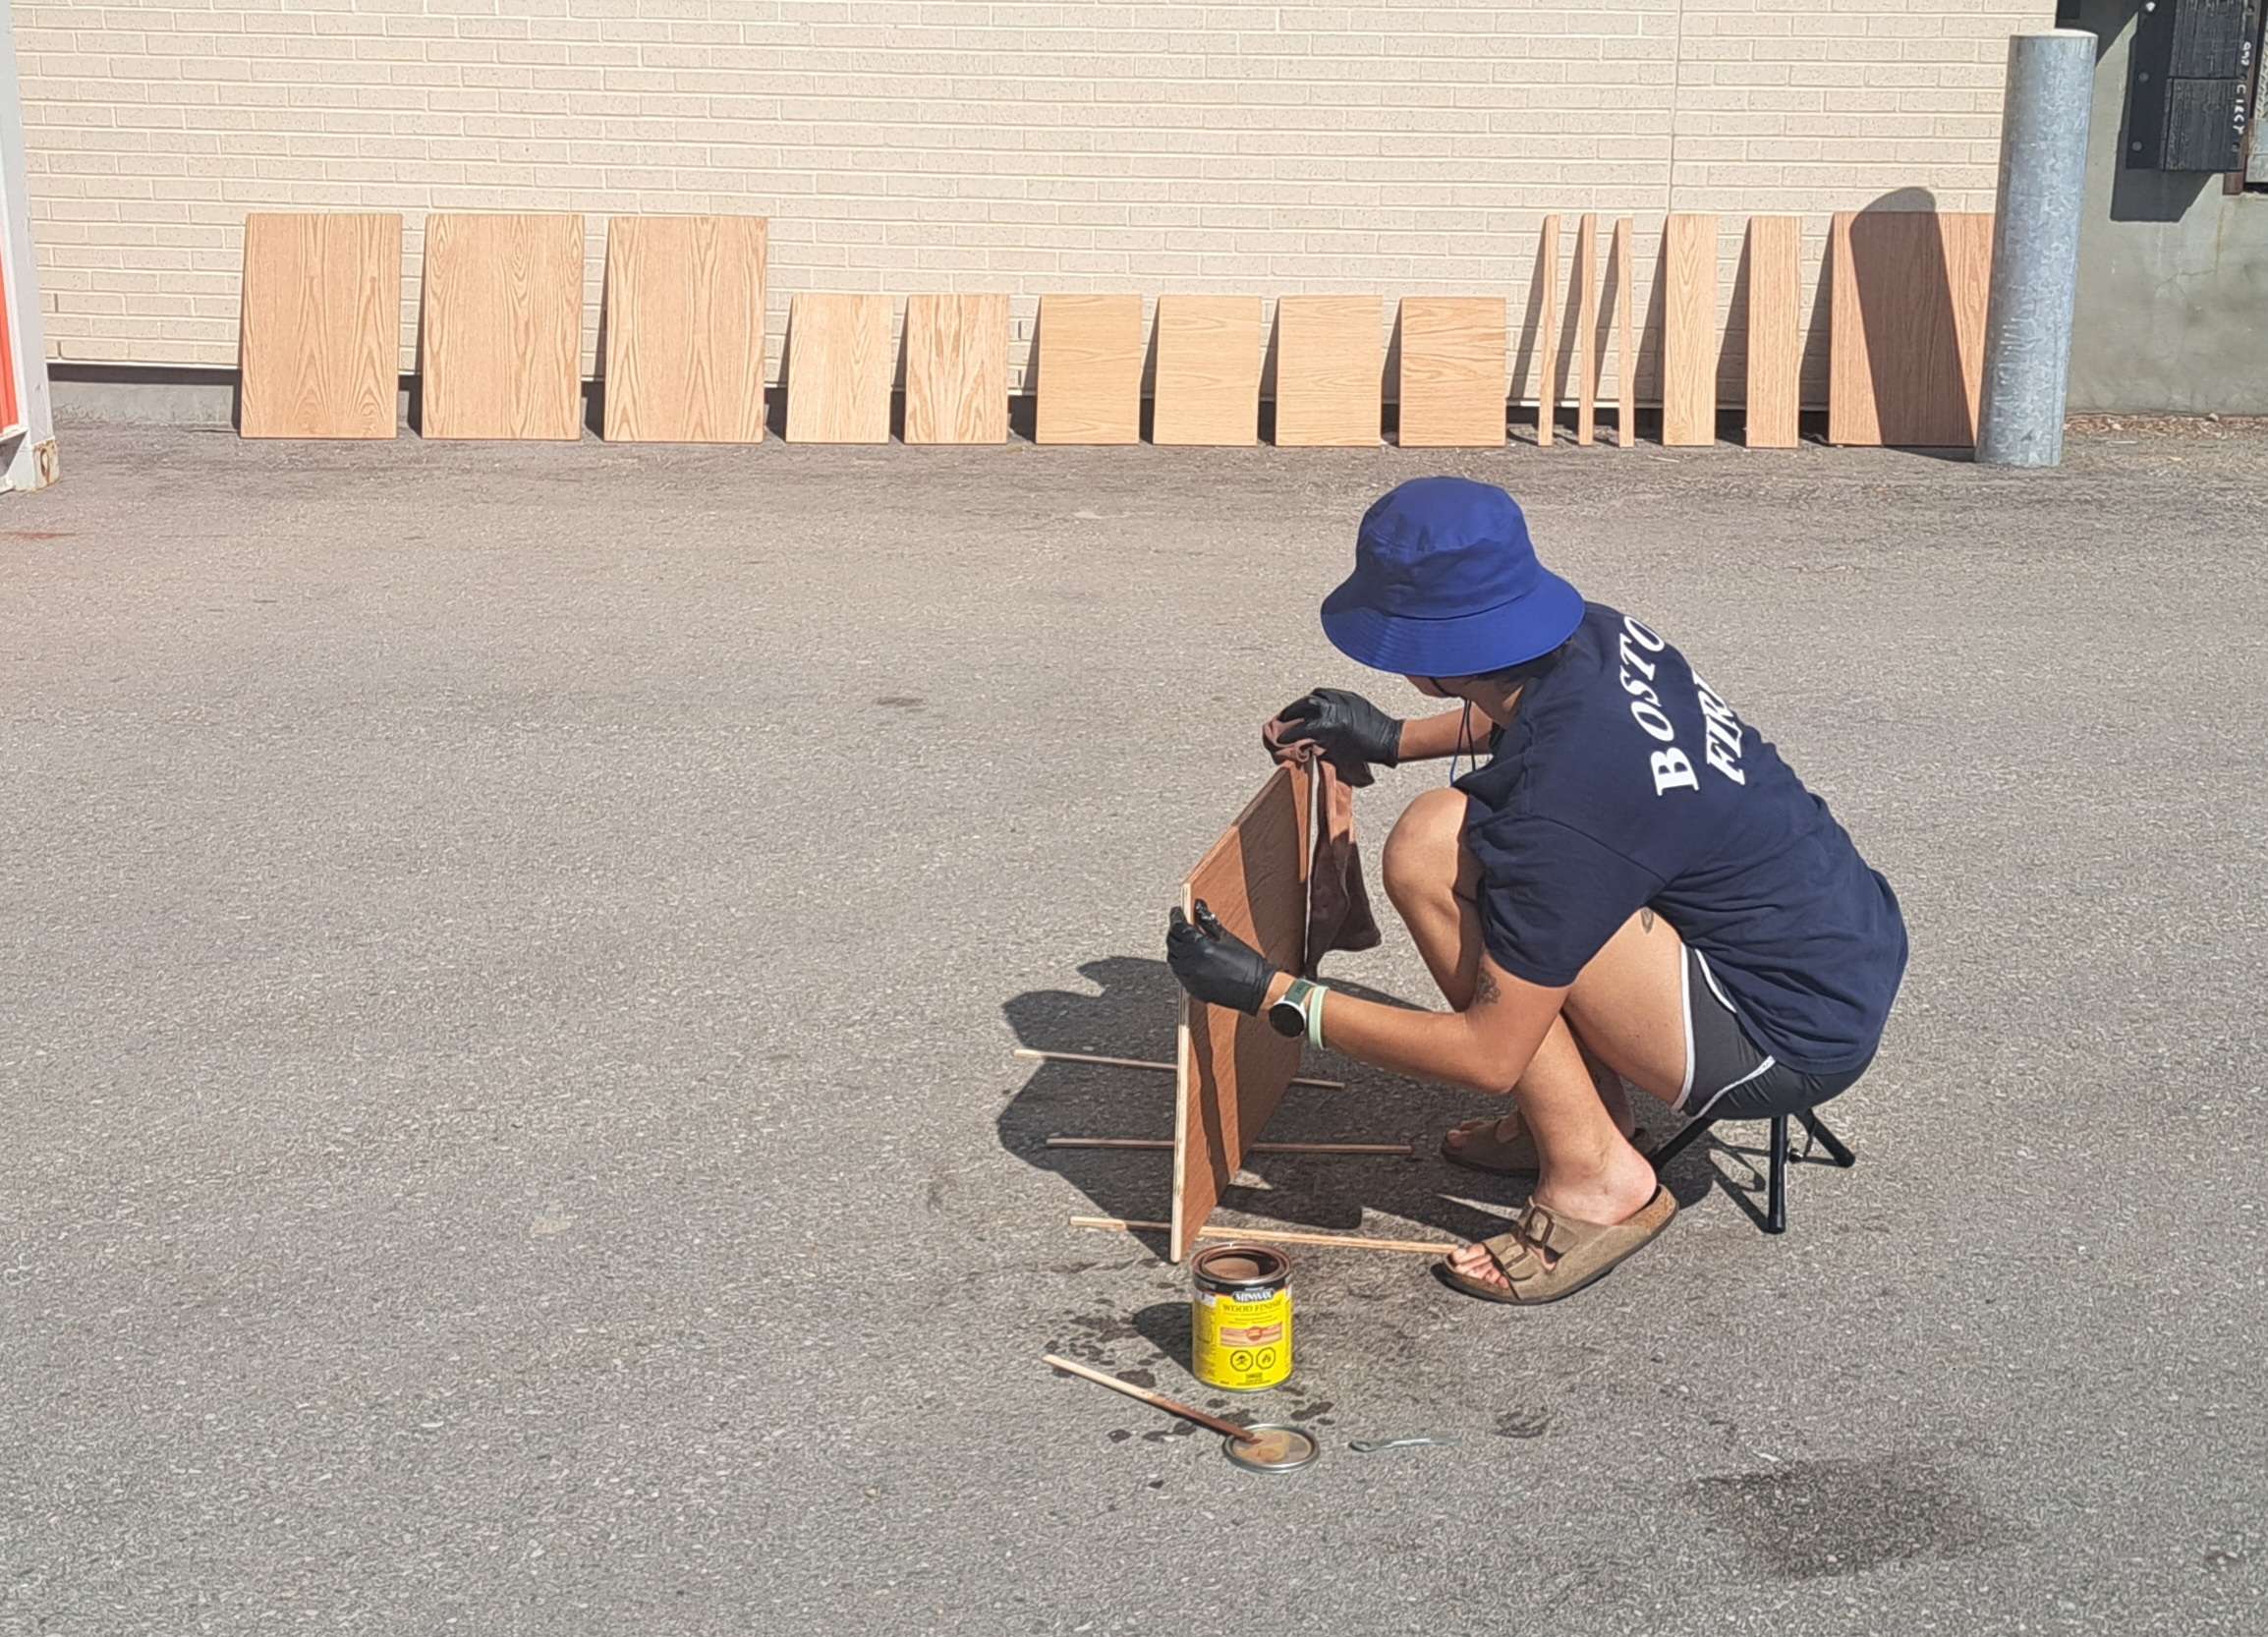
The second day (Saturday) was the most brutal. While in the middle of a heatwave, we had to stain the wood outdoors. I didn't write down the temperature, but easily in the mid-30s (high 80s). We did light sanding before applying the stain, mostly following this video. We used Minwax Cherry as the stain since we didn't want it to be very dark. We then let the wood rest overnight in a well ventilated area.
The next day, we went back and, thankfully indoors, we applied the finish. We went with Varathane Diamond Satin wood finish. We chose satin over gloss since we wanted a more natural looking look. We applied 3 coats, with approximately 1 hour in between the first 2 coats and 2 hours between the second and third coat. Since there were so many pieces of wood, it took us all day to do...
The assembly
The bookcases were assembled (by design) in two parts. This would make it easy to move them if the need ever arose.

The bottom half was assembled, every shelf has two 1 1/2 inch L brackets on either side. The bottom-most shelf used 1 inch brackets only had 1 on either side and 1 holding the footers (which also had 1 on either end to attach it to the side panels). The support beam was screwed into the top shelf (of the bottom) using 4 screws from the bottom so that they wouldn't be visible.

The top similarly used 2 brackets on either side on each shelf, but the brackets were 1 inch brackets.
The bottom half exhibited a significant amount of racking (side to side wiggle) which was very concerning. The top also had some but less, likely owning to the fact that it had 3 shelves instead of 2. This caused me to be very weary of attaching the two halves together using the original plan of the Ikea-like screws and fasteners.
After days of thinking and dooming, I ended up going with a wall mounted approach (initially we had thought of only using 1 anti-tipping anchor). This implied using 3 anchors into the drywall to prevent any motion side to side. Using one anchor at the middle shelf and 2 anchors on the top shelf, the entire body would be rigid and not allow for much torque around the middle. To attach the middle, I wanted something I could easy separate and reattach easily, but ended up going for more L brackets just to be safe. I figured if needed, we could use wood inserts if we need to disassembled and reassemble it anyways. I made sure those brackets landed on the support beam underneath.
The final thoughts
While not a perfect job, I think it turned out great for a first attempt. We went in without very much planning and a lot of winging it as we went, but adapted pretty well. The stain looks good but the lack of edge binding meant that the raw plywood edge was visible. I personally do not mind it but I can see how it might not be the most pleasant view.
The biggest thing I learnt was that L brackets aren't perfect and damn, staining and finishing take a very long time if you are doing a lot of wood!
[insert image of both bookshelves]