Bookcase Mats
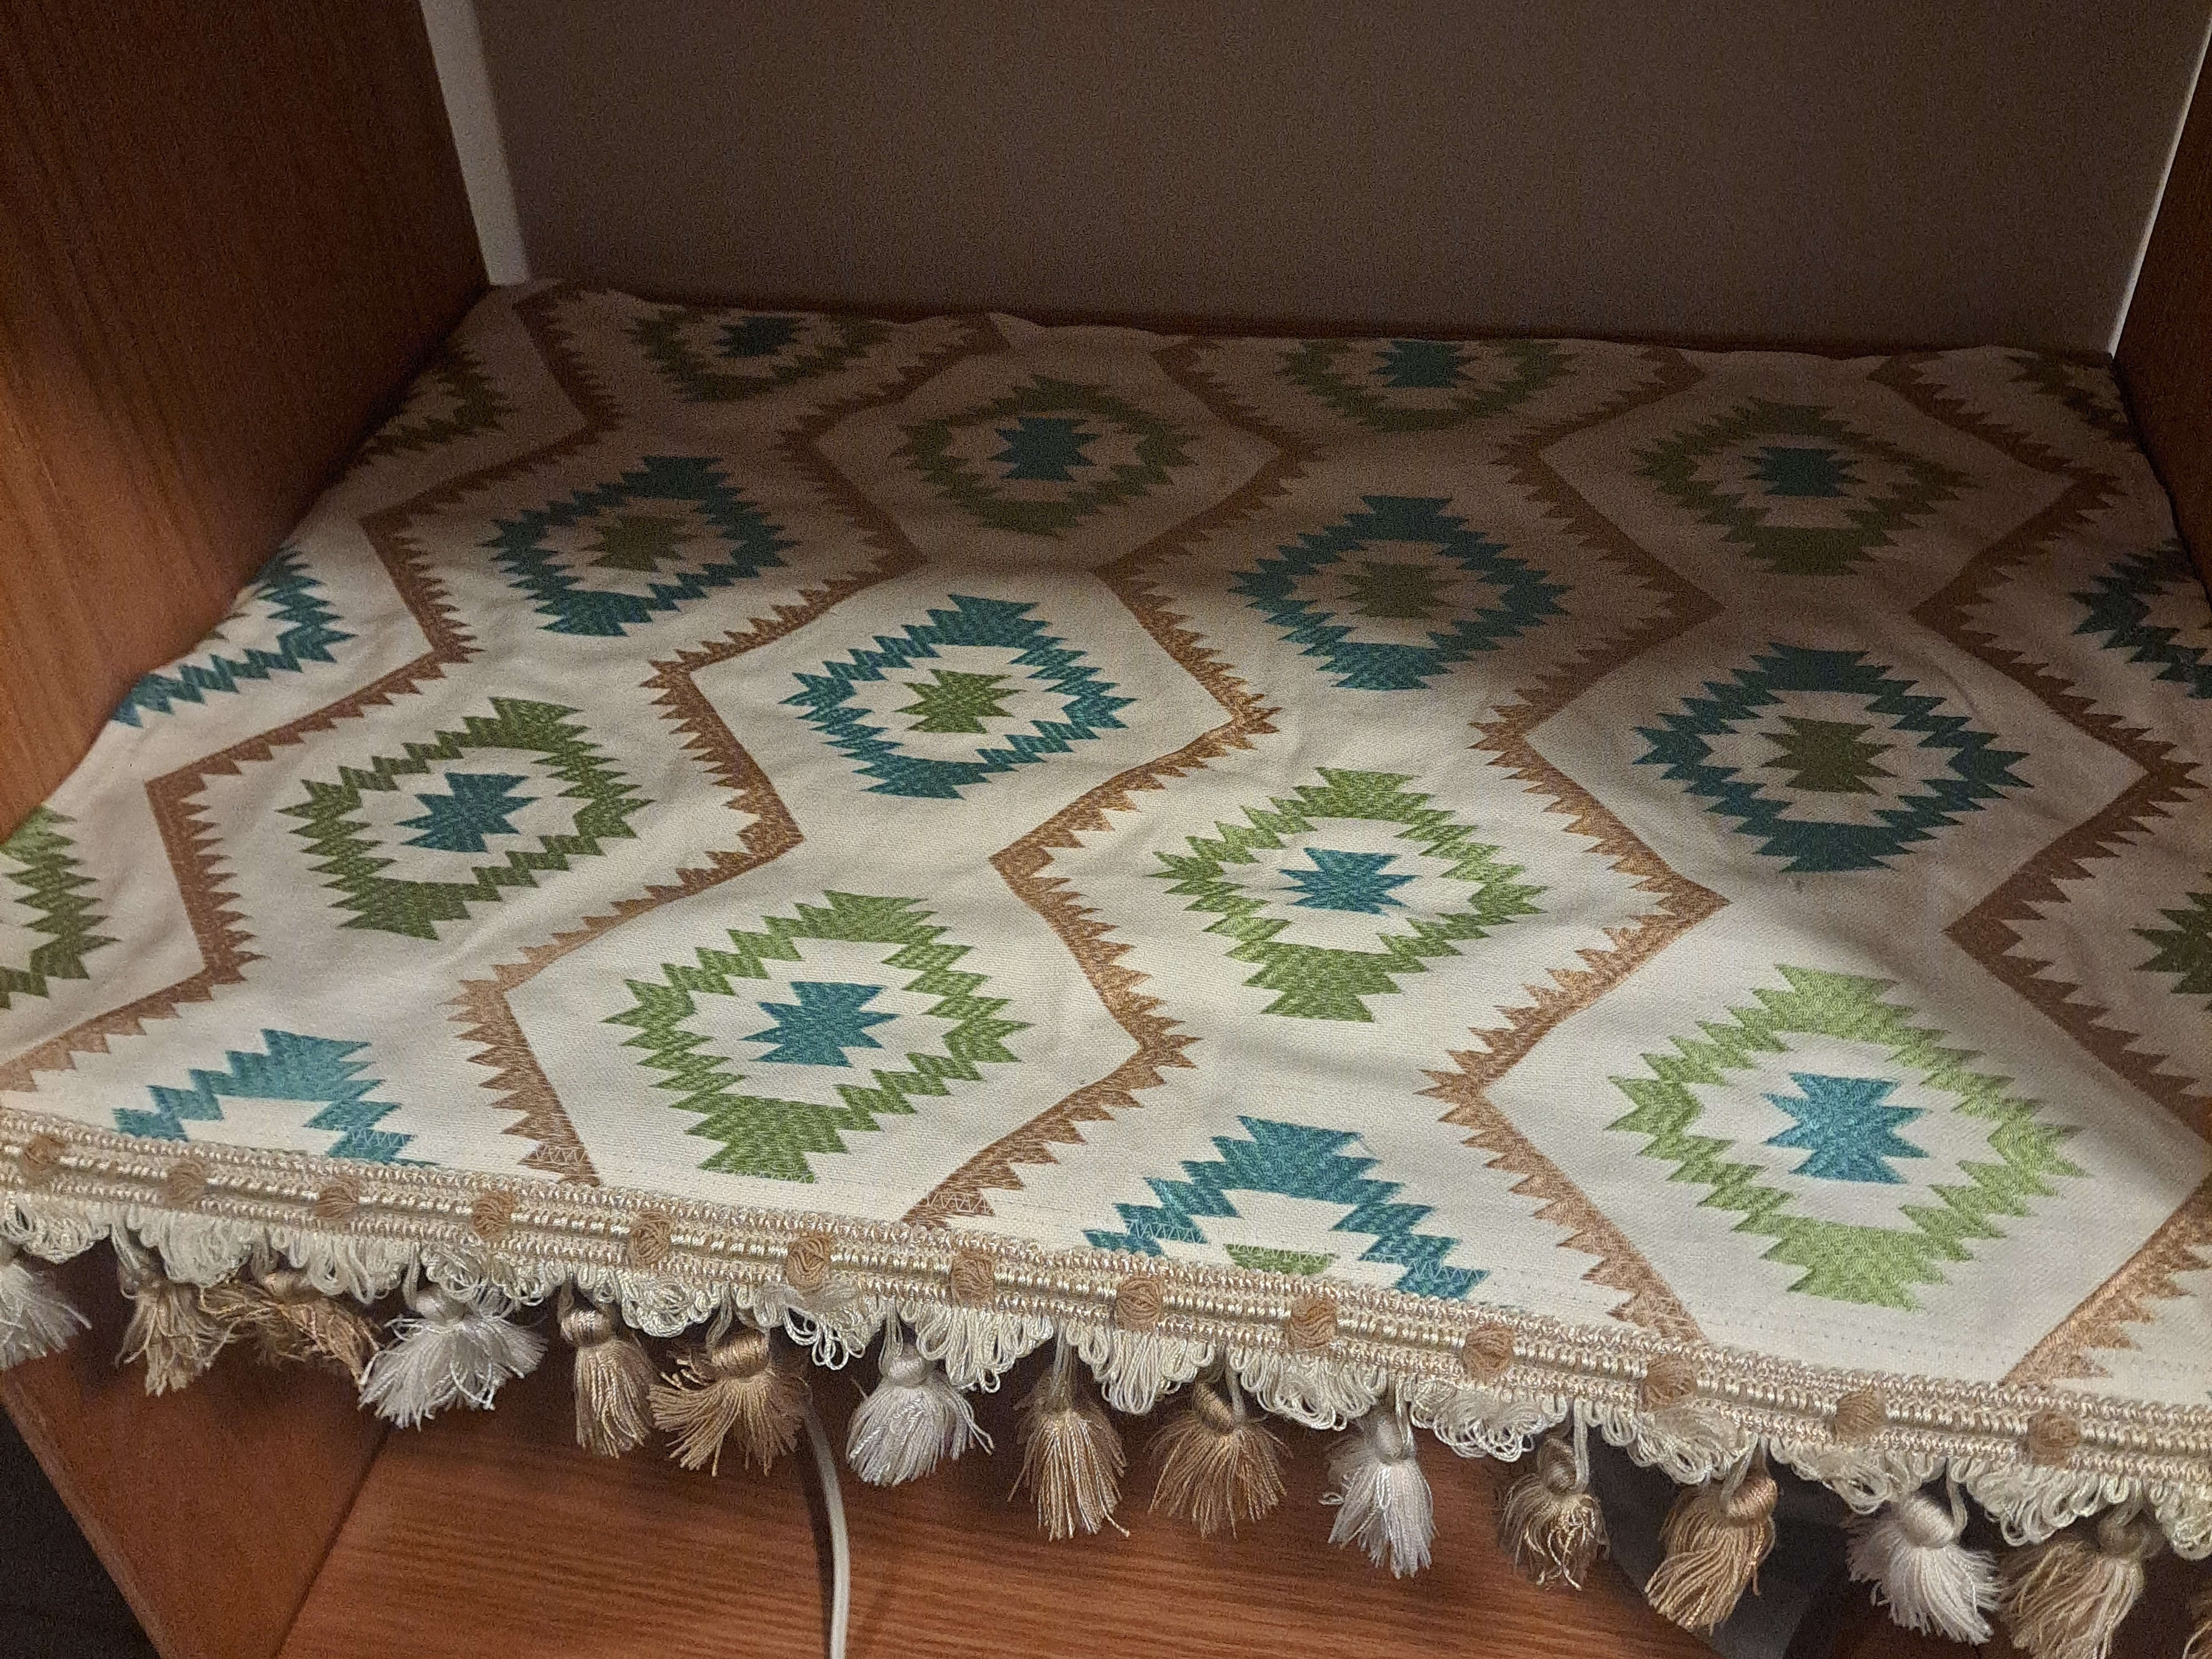

I made a bookcase and wanted to protect the shelves from constant inserting and taking out things like the sewing machine and oscilloscope. So I decided to make mats. I also wanted tassels.
July 25, 2026
The requirements are quite simple, the main use is to prevent scratching on the wooden surface. The other requirements are that it should not slip very much and should have tassels. The tassels not only serve for decoration, but they also help hide some of the plywood edge without the need for edge banding.
I started by going to a fabric store (Len's Mill) and purchasing some fabric.
The fabric
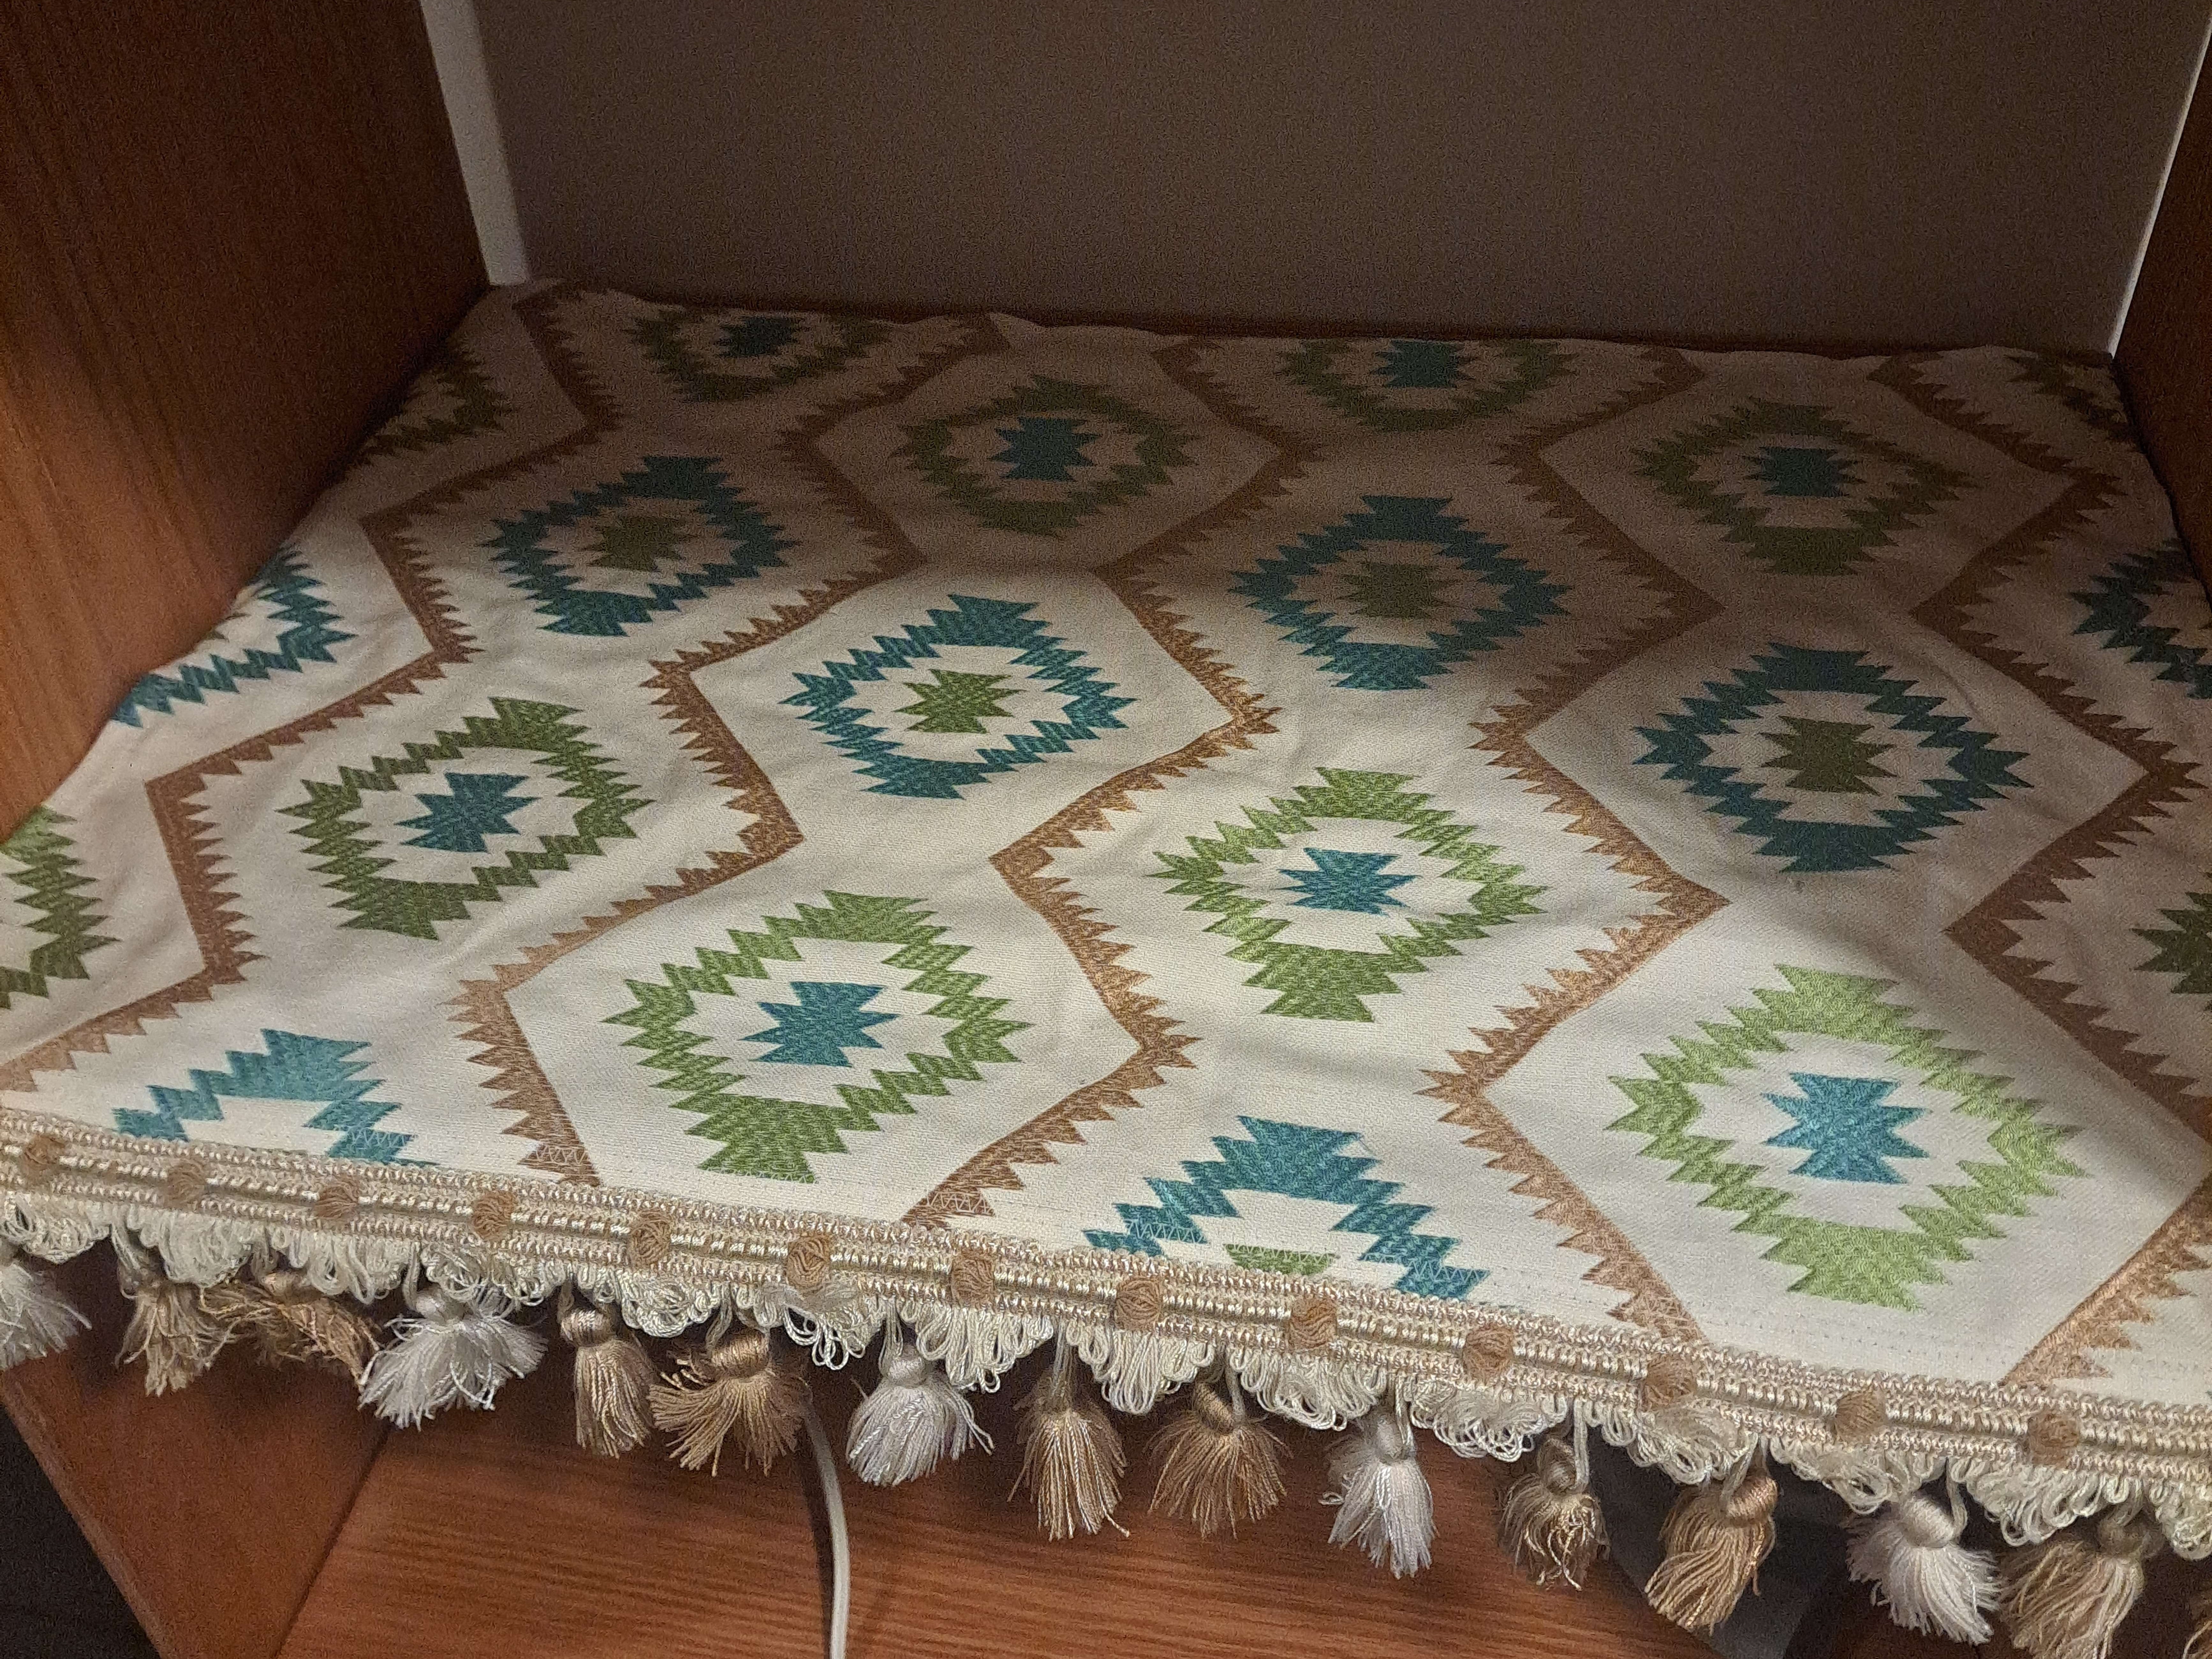
The fabric for the top could be almost any, so it is mostly whatever I find pretty. The only thing was to make sure it was strong and wouldn't rip. I got an embroidered fabric (I don't know the blend to be honest). The colour is chosen as a very light beige to not be easy to get dirty but not dark since the bookshelf is not a very dark colour and didn't want to darken the style.
[insert photo here of the fabric]

The fabric for the bottom only needs to be non-slip and of the same colour theme as the top. I went for a beige felt, thinking that it is thick and I wouldn't need to worry about fraying, which would simplify the finishing of the mat, since anything thick, if finished, would give a big bulky edge around my mat.
[insert photo here of the felt fabric]
The shelves are 26x18 inches, and I needed to line 4 of them. I do not remember the total amount of fabric I got, but likely got a lot more than needed.
I also got some tassels that matched the colour very well and looked nice but nothing too crazy. I also do not remember how much of this I got.
[insert photo of tassel]
The cutting
I knew that the top was going to be folded over and sewn into the bottom and finished at the same time. However, I hadn't yet figured out in what manner. I still, however, cut the pieces before figuring it out...
I started by cutting the the top fabric to have half an inch extra on either side. So 27x19 inches. This would allow for them to fold over. I then cut the felt to the exact size of the shelf (I then trimmed it down after I figured out to finish it, but no spoilers).
The finishing
With some scrap fabric, I tried some different finished, thinking about the thickness and the overall look. The main things I looked out for was:
- No bulk on the edges
- Felt should not be visible out of the edges
- The tassels should be easy to sew in
- Not too crazy to do since I am not very good
[insert picture of different finished here]
Since the thread colour I had was very invisible after sewing, I had plenty of freedom on doing hidden stitches. I still ended up going for a single zigzag stich, making sure to grab the felt underneath. This was both as a serge and a stitch in one, although the fraying would mostly be protected by being encased in the felt and the good side.
Issues
There were a couple of issues I faced on the first one. I will see if I can prevent them on the other ones.
The first was the cutting. I was kind of lazy and hastily cut it without much regard for straightness. This came to bite me later on...
I also didn't spend much time thinking about how to do the corners. This led to issues during the sewing phase that I still need to figure out for the other 3.
It was also hard to make sure the stitch was straight and always grabbed the same amount of felt. I got better at this near the end of the first one, but the non-straight edges had me struggling to figure out if I should be following the edge of the felt or the top fabric.
The felt likely made the mat more slippery, not less. It does at least not scratch the surface at all, but makes it such that if the sewing machine is taken out, it has a chance of pulling out the rest of the things on the shelf.